
X-MicroFor walls, and bathroom walls over your waterproofing.
- Home
- Techniques
00Guide
How microcement goes on.
A kit goes on in the order it’s packed: primer, advanced microcement, sealer. Four steps. The third one is the only one people think about. The other three are where jobs go right or wrong.
01Prepare
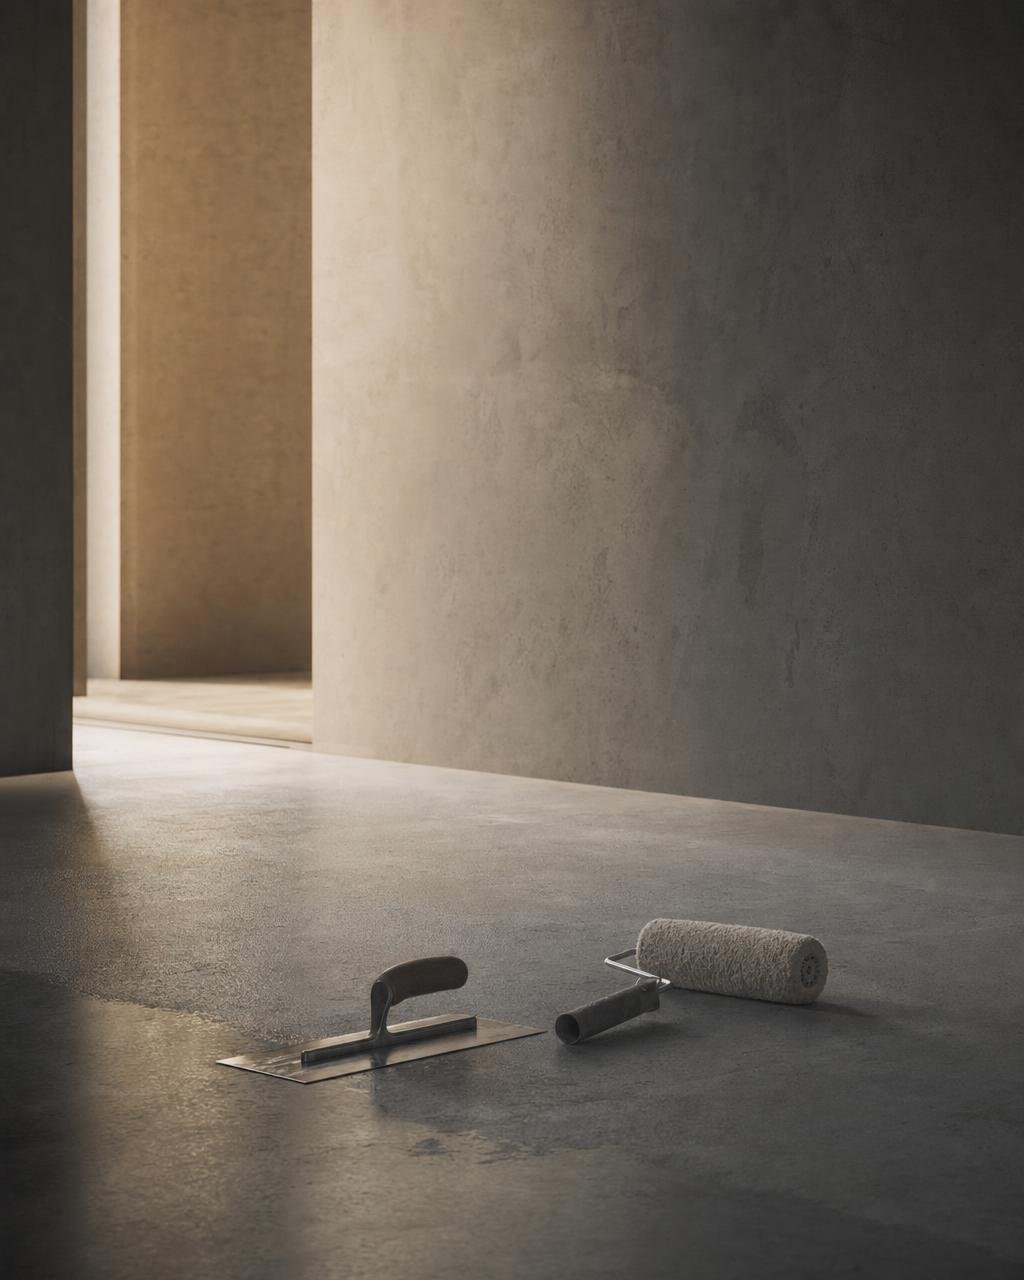
Sound, clean, and something the primer can grip.
Advanced microcement is thin. It follows whatever’s under it, so a rough or damaged surface shows through unless you fix it first. Hold a lamp close and angled along the wall. Anything that shows now will show later. Fill, sand and clean. The microcement won’t do it for you.
Tiles stay. They get keyed and the grout lines get filled flush with the acrylic render base before the primer. Tell us you’re going over tiles and we’ll include the base.
A wet area is built over waterproofing. Microcement is the finish on top, not the waterproofing.
02Prime
Primer: what the microcement bonds to.
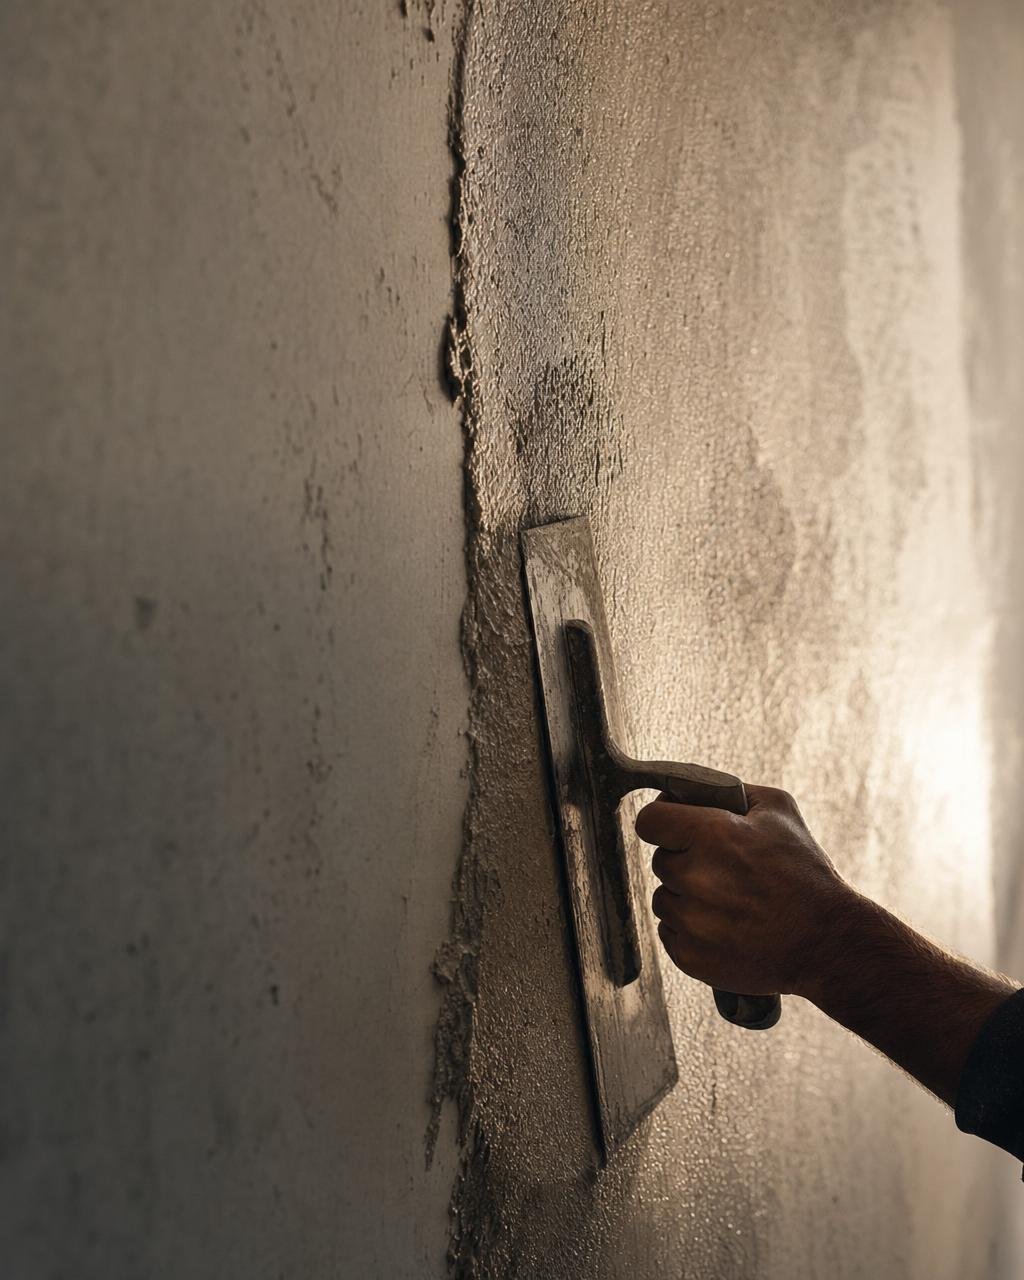
Every kit has its primer. It goes on first and does two jobs: gives the microcement grip, and stops a thirsty surface like plasterboard sucking the water out of the first coat. Wet-area kits also have reinforcing mesh, bedded in at this stage so joints and grout lines can’t show through.
Most primers want the microcement on while they’re still tacky. Ask us for the timing on your kit before you start. A primer that’s dried hard has to be sanded and done again.
03Apply
Thin passes with the trowels in the kit.
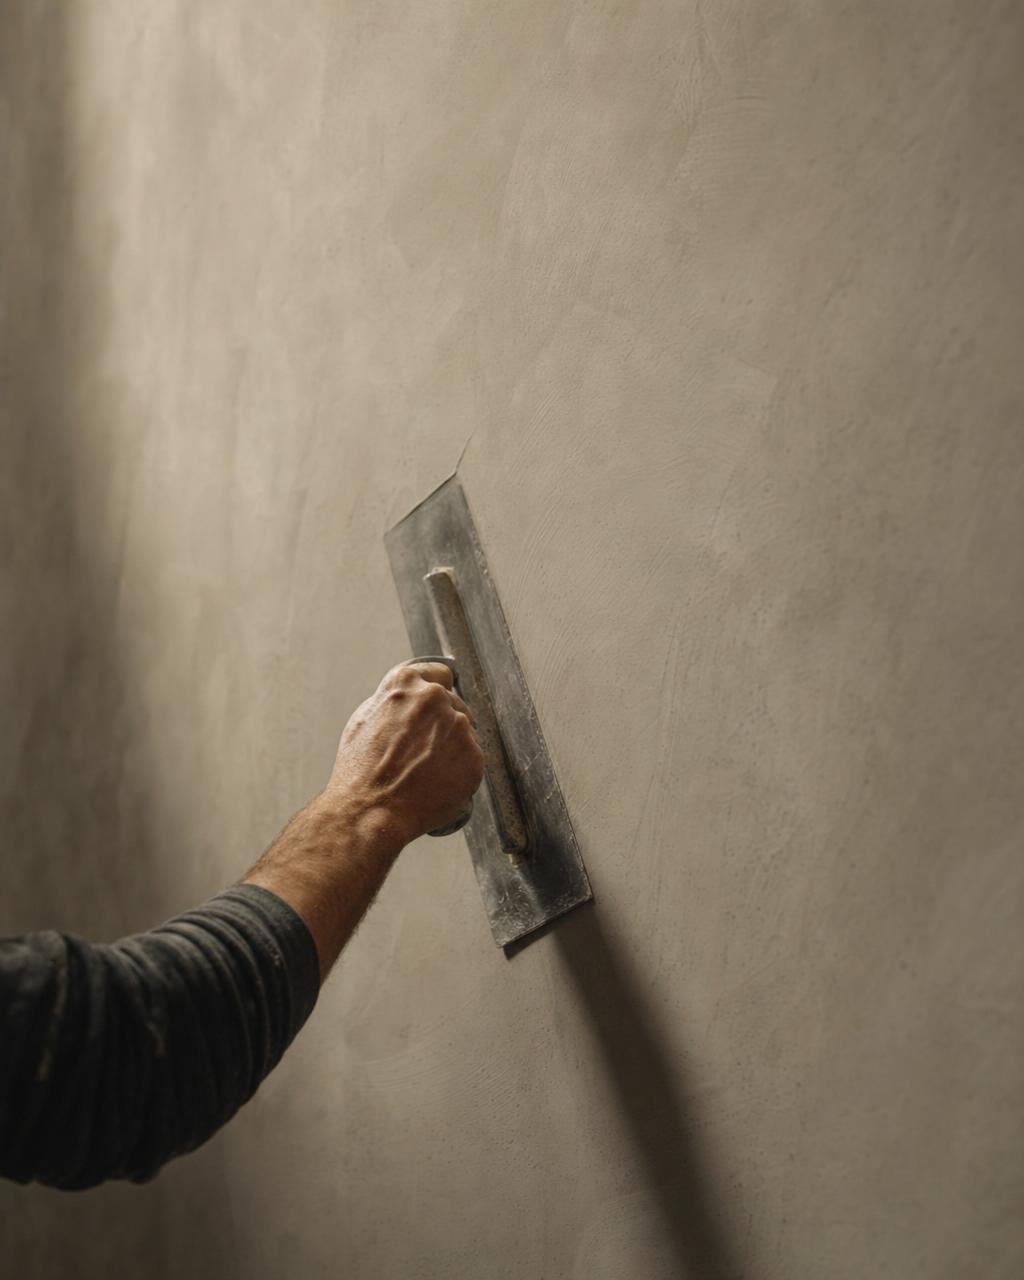
The advanced microcement goes on by hand in thin passes, sanded between coats. The kit has a stainless steel trowel and a PVC trowel for spreading, a flat blade and a scoop for handling, and wet-and-dry paper for sanding. The steel one compacts and polishes; the PVC one flexes and won’t burn a pale finish. You’ll work out which you prefer by the second coat.
It comes ready to use. No powder, no resin. Bring a mixing drill to stir the tub back to an even mix, and a drop sheet. Decant what you’ll use in one go and keep a wet edge. A pass that’s stiffened won’t blend into the next.
Xtreme comes in coarse, medium or fine, X-Micro in super fine. The finer the grain, the smoother the wall.
04Seal
The sealer is what the room lives on.
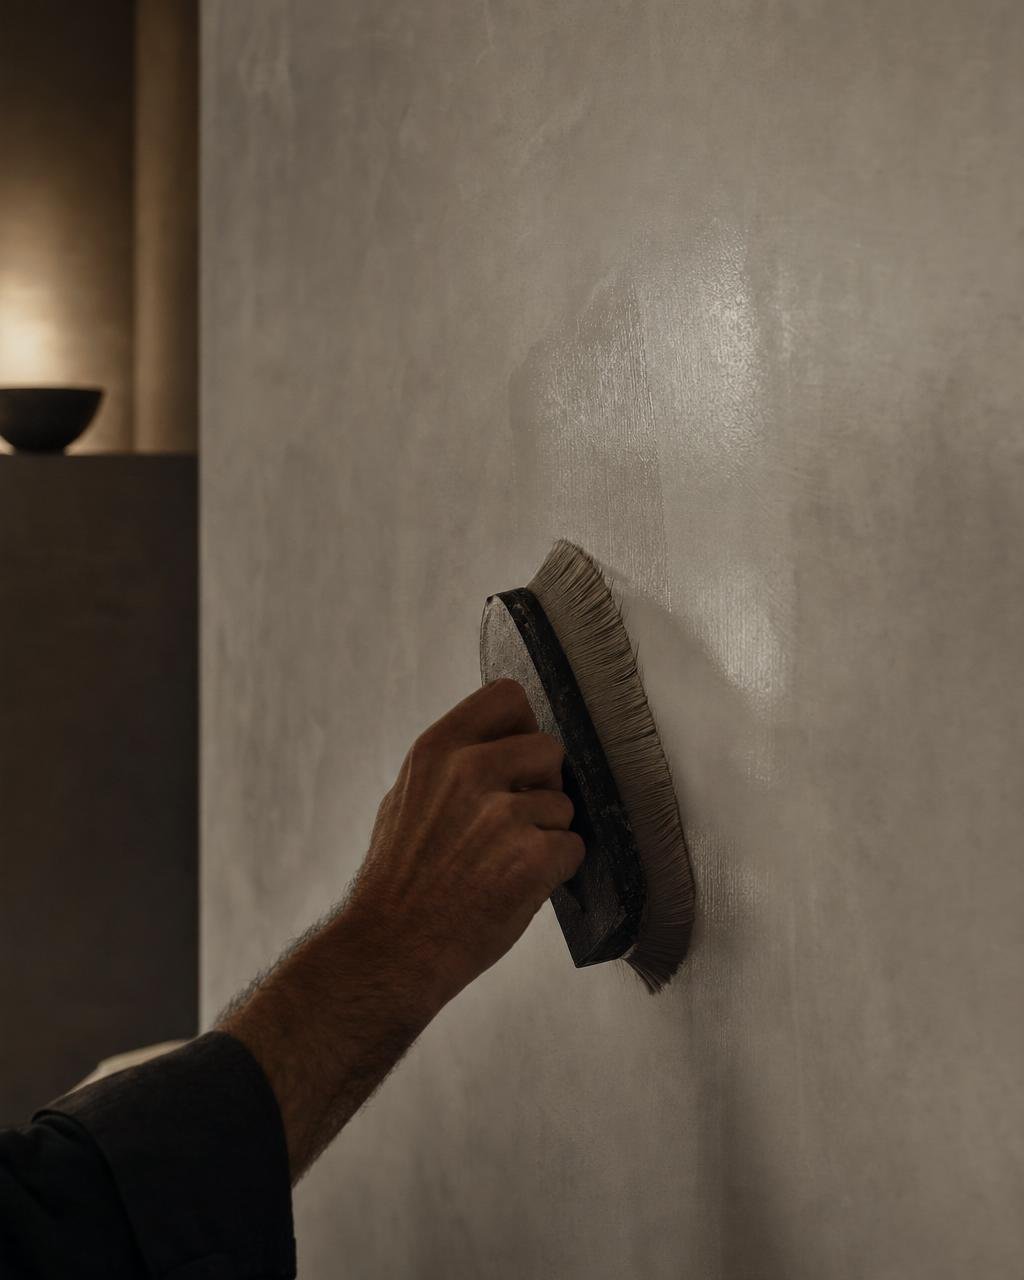
Every kit finishes with its sealer. Water, spills and feet hit the sealer, not the microcement. It’s the last coat and the one not to skip.
The microcement has to cure before the sealer goes on, and the sealer has to cure before the room gets wet. Both take days, not hours, so give a bathroom more than a weekend. Ask us for the timing on your kit.
05In the kit
What you get, and the two things you add.
- primer
- advanced microcement
- sealer
- PVC trowel
- stainless steel trowel
- wet-and-dry sandpaper roll
- scoop
- PVC flat blade
wall, wet area and floor, wet area kits add reinforcing mesh. You’ll also need a mixing drill and a drop sheet. They aren’t in the kit.
06Kits
Go straight to the kit.
Pick the surface, the area and wet or dry, and the builder names the kit. These are supply kits: material and tools, not an installed job.